Managing Your Custom WooCommerce Shop
Adding a New Product
1. Hover over “Products” on the menu on the left. Choose “Add New”. You’ll be taken to the Product Creation screen.
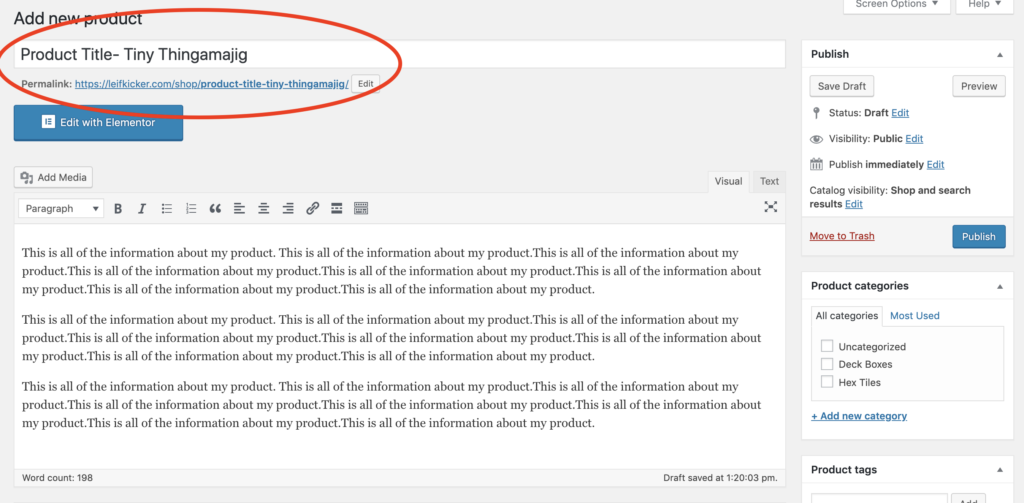
2. Type your title and item description into the provided boxes. Include lots of words that may be used to search for items like yours to help your SEO.
3. If your title is long or you want to change the slug, you may do this by clicking the “Edit” button by the permalink. For example, you could change the URL https://leifkicker.com/shop/ihaveareallylongtitlethatdoesntmakesense to https://leifkicker.com/shop/shorttitle
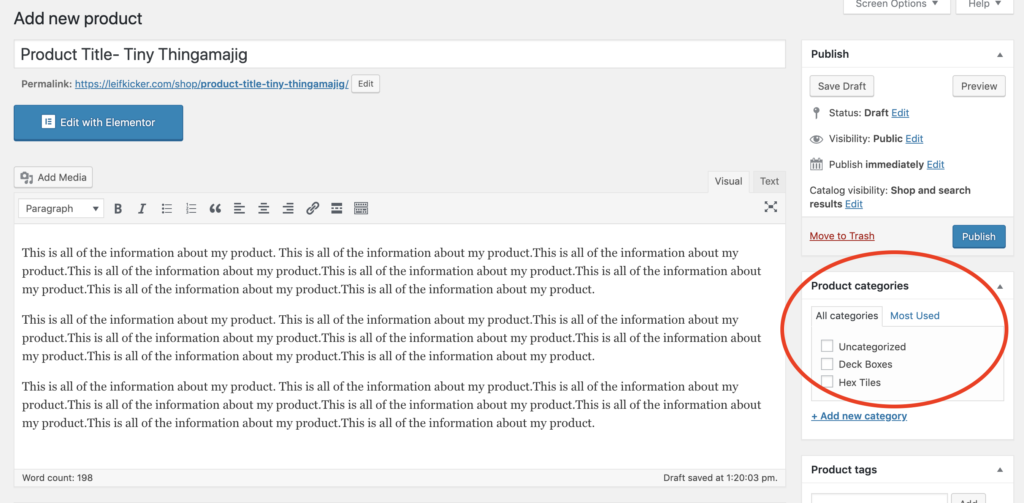
4. Choose a category for your product, or create a new one.
5. Scroll down to the Image Section on the bottom right side of the screen. Choose a main product image and then add images to the gallery.
Images will show up best with a white background and formatted as a square. The higher resolution, the better.
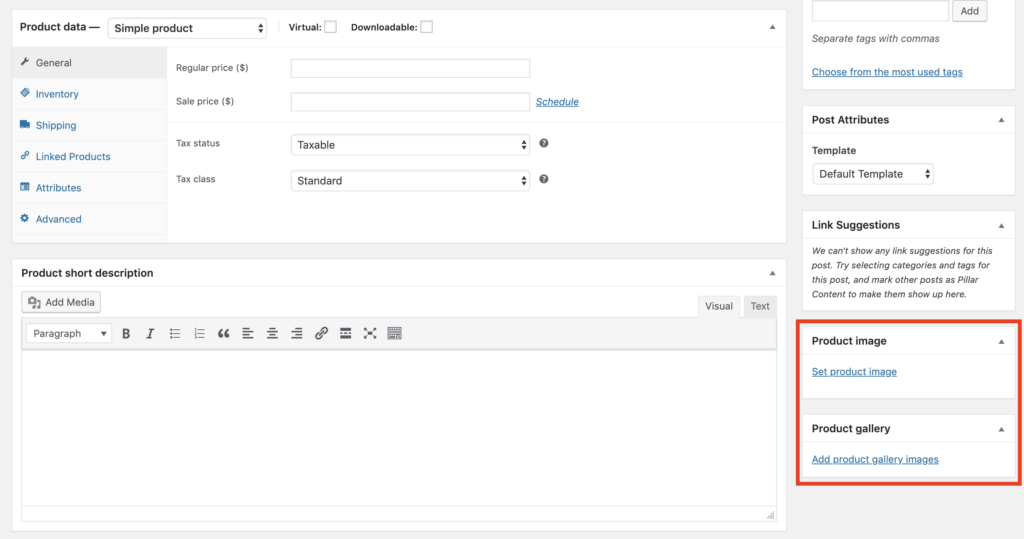
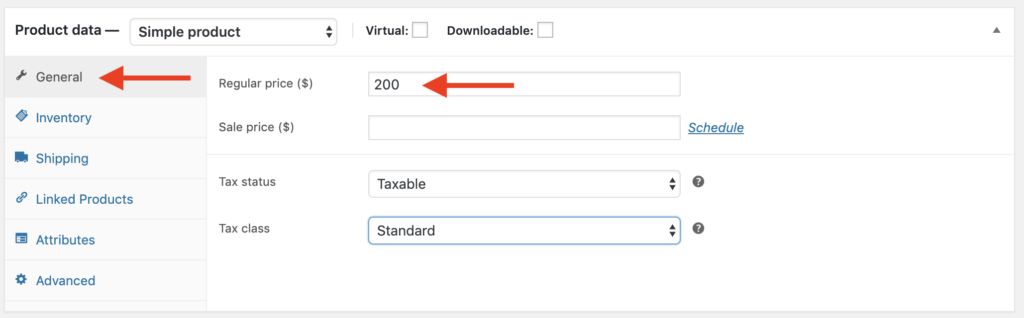
6. Under “Product Data” make sure “General” has been selected. Enter the Regular Price.
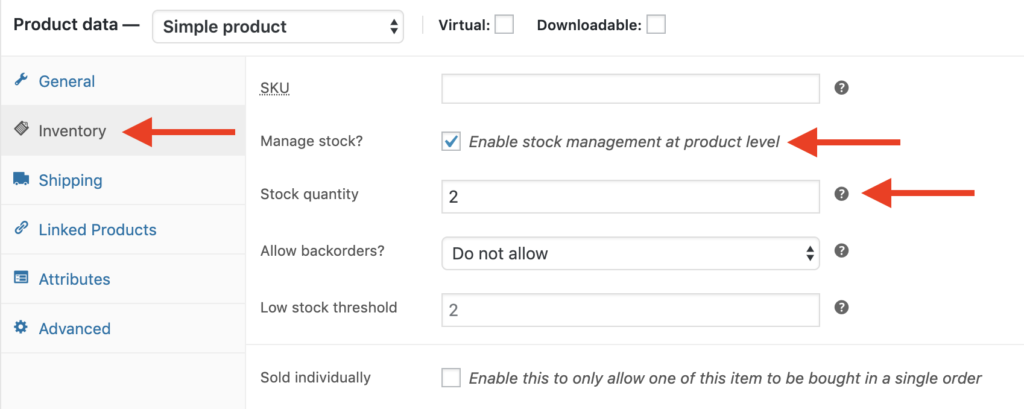
7. Click “Inventory” and make sure the “Manage Stock” box is checked. Enter the number of items you have ready to shop in the “Stock quantity” box.
8. You do not have to make any other changes. to the product data. Options like shipping have been set up on the back end.
9. You can always preview your product to see how it will look by clicking on “Preview”. Once you are happy with it, click “Publish”. It will create a page for the product, and add the previews to the shop page.
Editing Products & Inventory
To adjust inventory (like adding more of a certain item)
1. Hover over “Products” and choose “All Products.
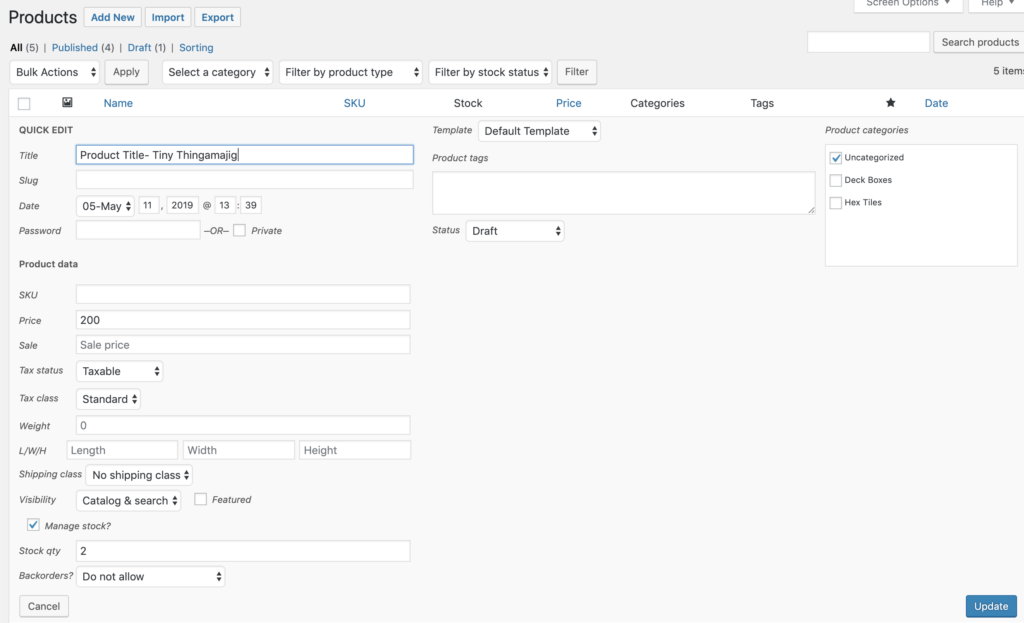
2. Hover over any item title, then choose “Quick Edit”.
A section will expand so you can make changes on the same screen.

A section will expand so you can make changes on the same screen. Make changes on item quantity, category, price, title, or any other option you wish. Be sure to click “Update” in the bottom right of the screen when you’re finished.
You can also choose “Edit” to make changes to the description or edit/add images to the product listing.
Managing Orders
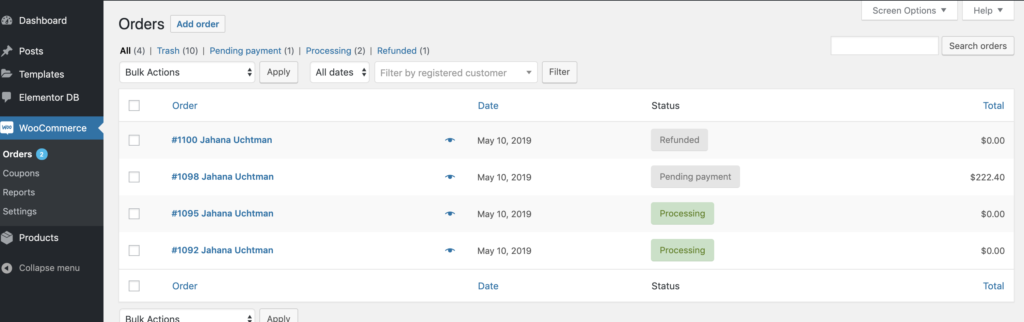
Hover over “WooCommerce” and choose “Orders” on the menu on the left. This is where all your orders live. You can click on each order to see the details. It will be rare that you use this. Any refund needs to be processed through PayPal before changing it in this system. Marking an order as refunded simply updates your reports.
Orders should NOT be marked as shipped in your WordPress Dashboard. Your third party shipping software (like Shippo) will automatically make these changes once you print your postage.
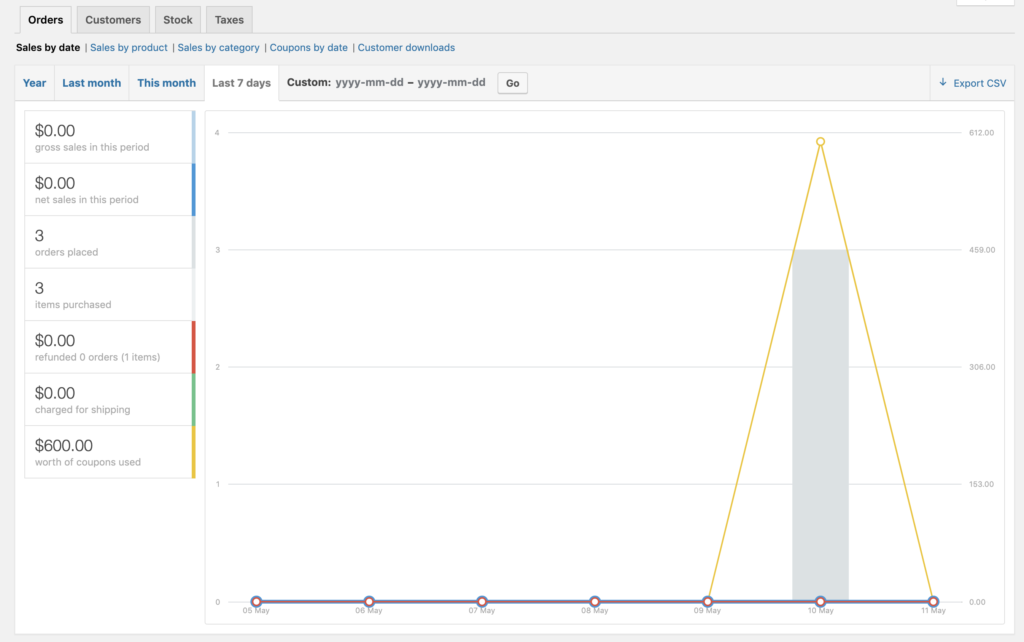
Viewing Reports
Hover over “WooCommerce” and choose “Reports” on the menu on the left. This is where you’ll find all your sales, shipping, tax, and other information.
In order to be sure that your reports are correct, please update all your orders in WooCommerce if there is a refund or other issue that should be reflected in your monthly numbers.
Managing Coupons
Hover over “WooCommerce” and choose “Coupons” on the menu on the left. This is where you can create, edit, and delete coupons for your customers. You can edit any current coupon in this page
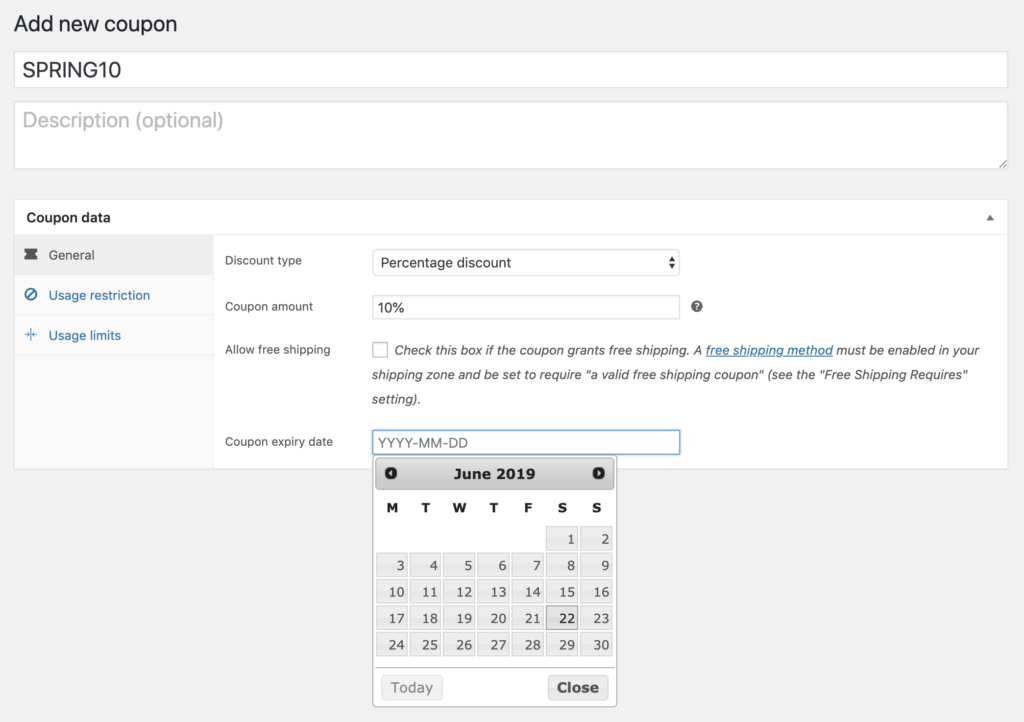
1. To create a new coupon, click “Add Coupon” at the top of the page.
2. Use the code you want to provide your customers as the coupon title. Add a description for your own reference if you wish.
3. Choose the Discount Type (percent or fixed). Then enter the amount. Choose a date for expiration.
4. You can get really specific with the coupons by Choosing “Usage restriction” or “Usage limits” on the left, but this usually isn’t necessary.